1. Ανοίγεις το Oulook 2013
2. Κλικ στο File
3. Κλικ στο info
4. Κλικ στο Account
5. Add Account
6. Κλικ στο Manual setup or additional server types
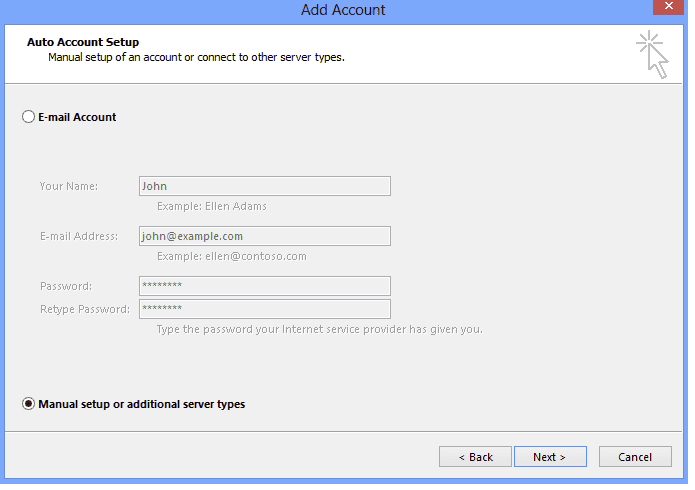
7. Επιλογή για POP
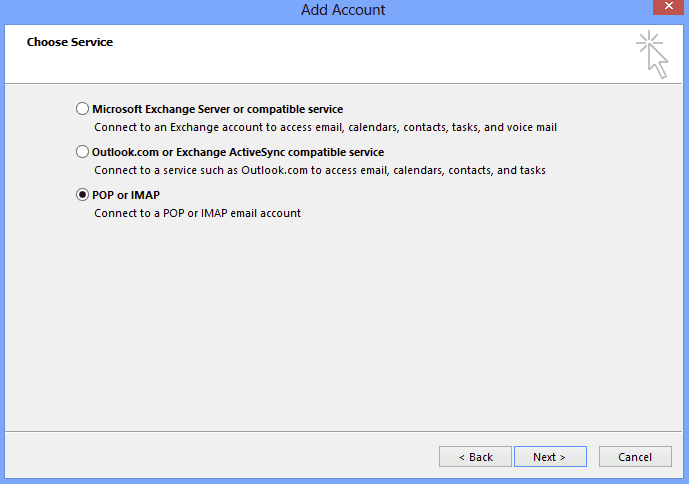
8. Κλικ στο Next
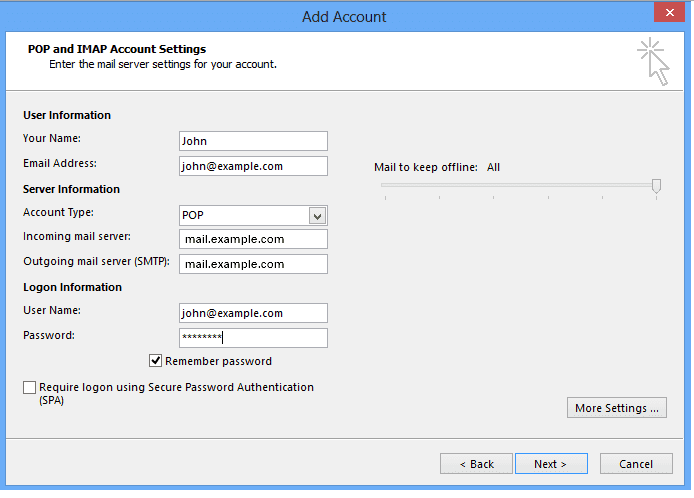
9. Συμπληρώνεις τα παρακάτω πεδία
Your Name: Το όνομα που θα εμφανίζεται όταν στέλνεις ένα email
Email Address: Η πλήρης διεύθυνση του email σου, π.χ. john@example.com
Account Type: POP
Incoming Mail Server: mail.example.com
Outgoing Mail Server (SMTP): mail.example.com
User Name: Η πλήρης διεύθυνση του email, πχ. john@example.com
Password: Το password που έχεις ορίσει μέσα από το Cpanel ή το Plesk όταν ‘άνοιξες’ το συγκεκριμένο email
Remember Password: Συστήνουμε αυτό να το έχεις ‘τσεκαρισμένο’
Require logon using Secure Password Authentication (SPA): Προτείνουμε αυτό να μην είναι ‘τσεκαρισμένο’
10. Κλικ στο More Settings
11. Κλικ στο Outgoing Server
12. Επέλεξε το My outgoing server (SMTP) requires authentication.
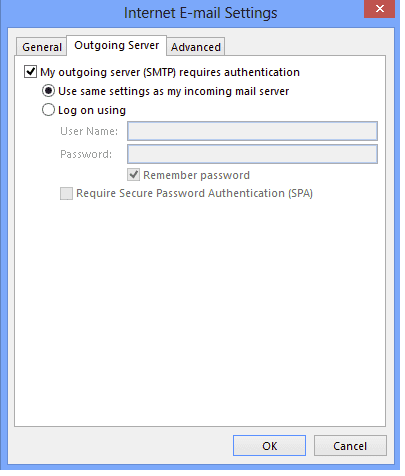
13. Επέλεξε το Use the same settings as my incoming mail server.
14. Κλικ στο Advanced
15. Συμπλήρωσε τα παρακάτω στα αντίστοιχα πεδία
Incoming Server (POP Port): 110
Use the following type of encrypted connection (Incoming): Προεραιτικό. Εάν είναι ενεργοποιημένο άλλαξε το Incoming Server (POP Port) σε 995.
Outgoing Server (SMTP Port): 587
Use the following type of encrypted connection (Outgoing): Προεραιτικό. Εάν είναι ενεργοποιημένο άλλαξε το Outgoing Server (SMTP Port) σε 465.
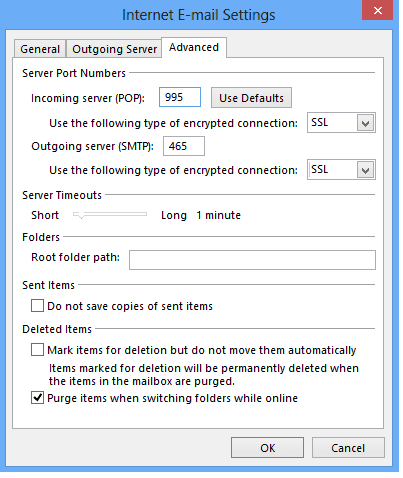
16. Κλικ στο OK
17. Κλικ στο Next
18. Finish